We are an official Iron Orchid Designs Stockist!

0

Your Cart is Empty

March 14, 2021 2 min read 1 Comment

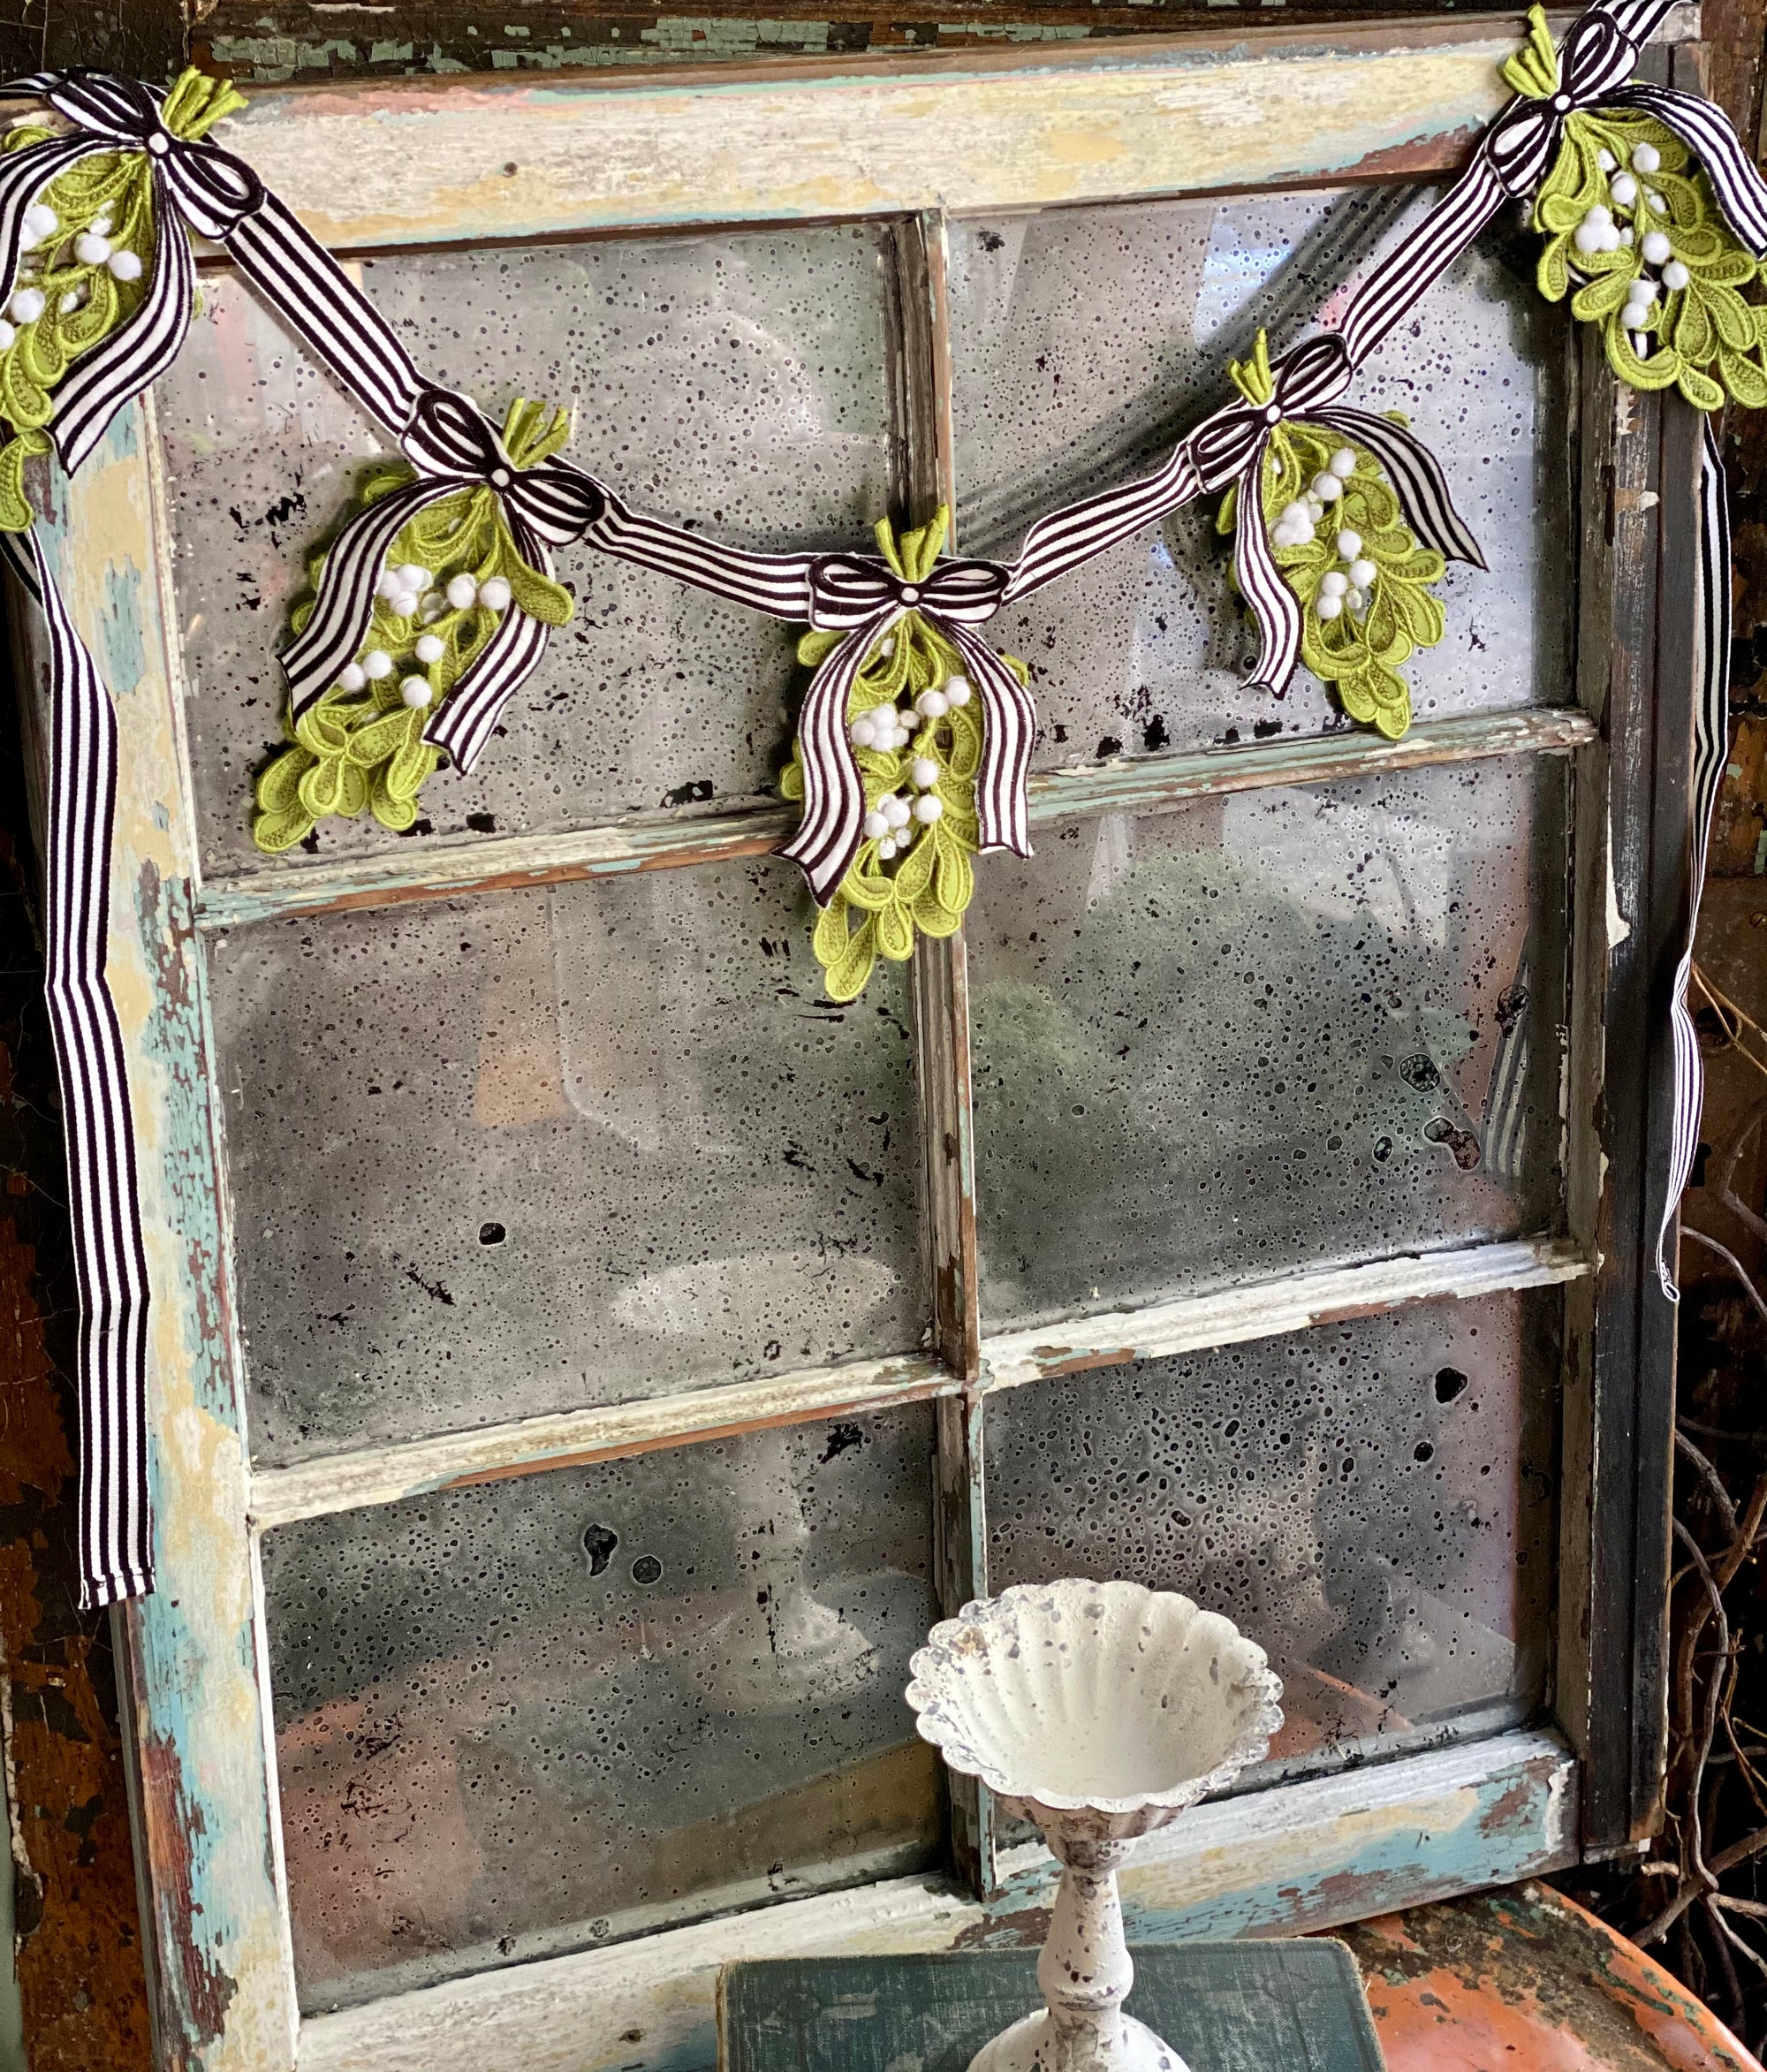
Before you say it, I know this has been done to death! But....You’ve never seen me do it! I’m showing you how to upcycle an old window into your very own antiqued mirror.

                           My first window mirror

I’ve made a couple of these & adore them for many reasons ~ the first being that it was actually pretty darn easy & I could do it by myself (huge on the personal satisfaction meter).

Other reasons -

  • I felt like a DIY rockstar!
  • It was inexpensive ($12 window/$10 mirror paint/$5.00 black spray paint/$2.00 picture wire/$1.50 hook hangers)
  • It looks great hanging on my wall
  • I can use it for prop photography for my business 

             Perfect backdrop for photos!

I’m not going to make you read cryptic instructions about Every. Single. Step. Nope! I put it all in a quick & easy to understand video with simple & useful instructions that actually work the first time & every time you do it!

               My favorite prop to use for product photography

I read a lot of tutorials, blog posts & watched videos on this process & it took several of those get the core process down with each of them either giving too many unnecessary steps or leaving out one or more crucial details that I felt was necessary for the project to turn out right. So in this video, I tell you what to watch out for.

Materials needed for this project (this list does include affiliate links that I may receive a small commission for if you happen to purchase using the link. It helps me out when you buy using my link & enables me to keep making these project tutorials for you to enjoy!) ~

  • Old window - I found mine at an antique store for $12. Pricing may be different depending on your location but average costs are between $10-$25. Don’t overpay for an old window unless it’s just so gorgeous you can’t resist! ***I must caution you about lead paint. Often old windows have layers of paint caked on them some of which is lead based. If you’re not sure of yours, get a test kit. DO NOT SAND LEAD PAINT. You can encapsulate it using another paint but research this process first. I am no expert on lead paint, I just know it is BAD.***
  • Krylon Looking Glass spray paint - I actually found some at my hardware store but often they’re sold out. Here’s a link to Rustoleum’s brand that I used for my first window mirror which is cheaper than Krylon. There’s really no difference in the two.
  • Black spray paint ~ Any kind will do but here’s a link to one I keep on hand for my projects. It’s Rustoleum Matte Black
  • Spray bottle with water
  • Gloves (if you don’t want paint on your hands)
  • Paper towels
  • Picture wire and two round hooks ~ I always use 100 pound hooks just because I’m extra & don’t trust the little guys for big things.

Now that you’ve made it this far, you’ll probably want to go ahead & watch the video! 

 Cheers,

Stacey


1 Response

Mary
Mary

August 20, 2021

Thank you for this great tutorial! So much easier for me to understand. You’re too funny with social distancing the squirrels. LOL

Leave a comment

Comments will be approved before showing up.